Skip to content
About
Contacts
Privacy
About
Contacts
Privacy
Search
search →
Facebook
X-twitter
Pinterest
Rss
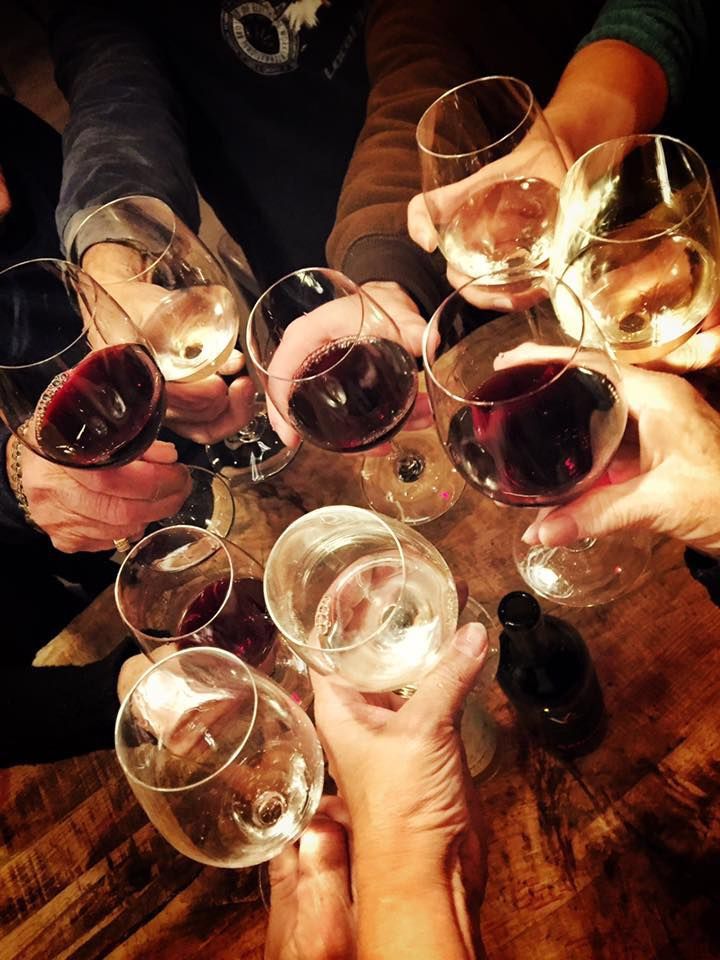
Italian Wines
Pairing Italian Wines with Your Favorite Dishes: A Beginner’s Guide
read post →
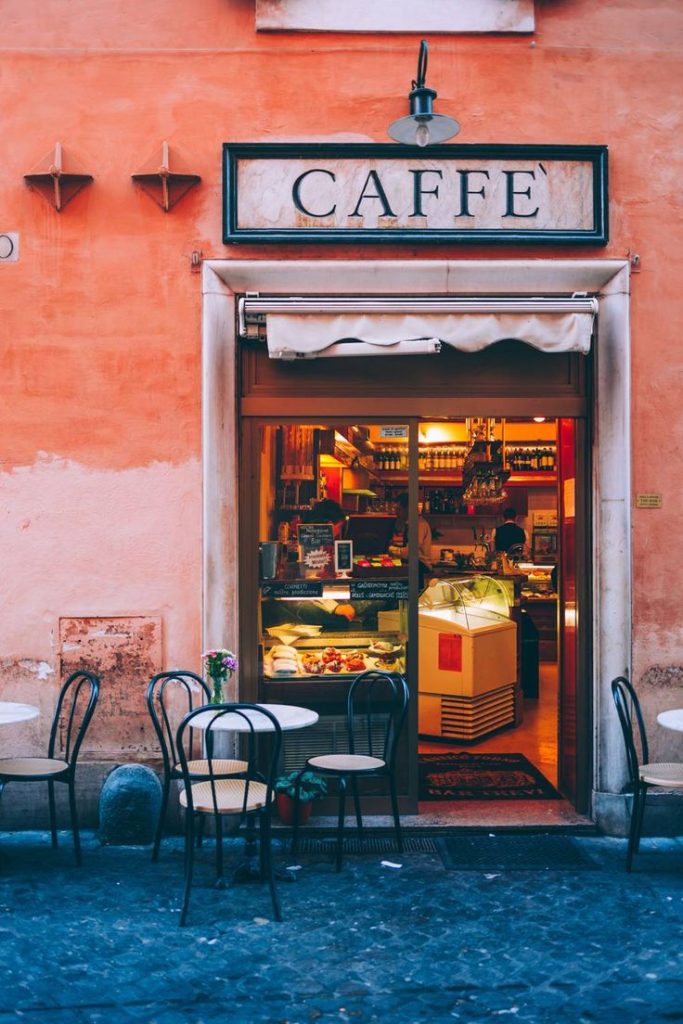
Best Italian Cafes
Hidden Gems: The Best Italian Cafes Off the Beaten Path
read post →
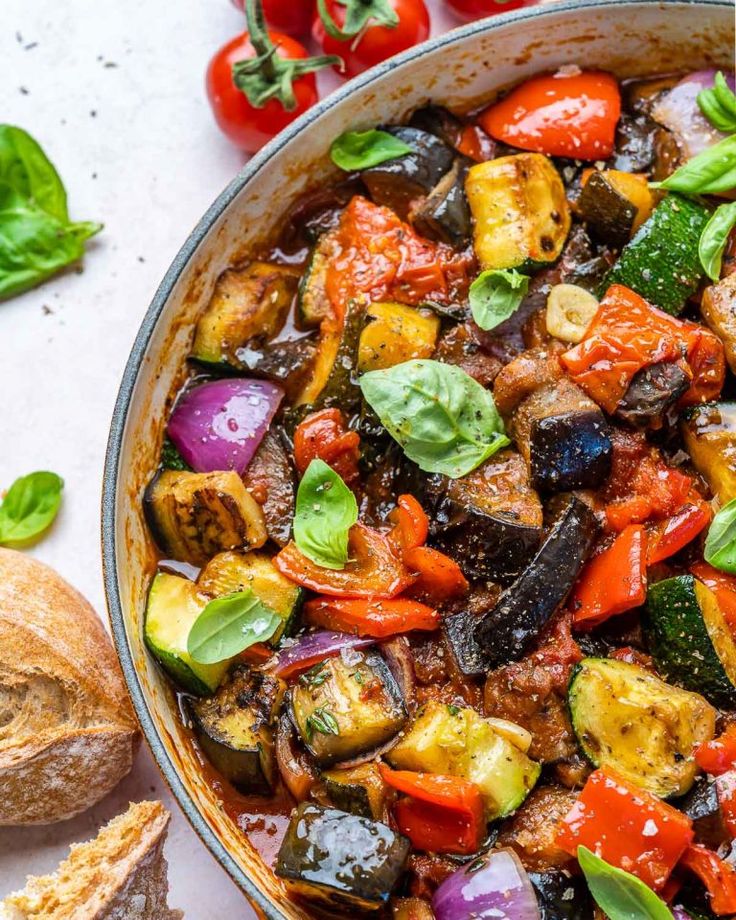
Seasonal Recipes
Secrets from Italian Grandmothers: Timeless Recipes and Tips
read post →
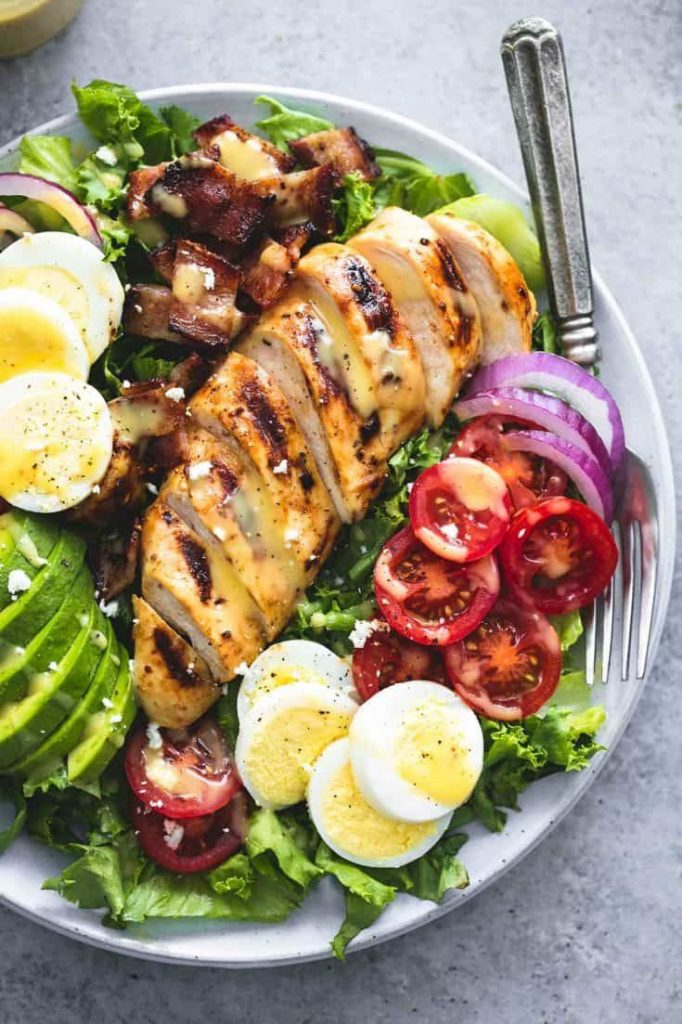
Italian Cuisine
Exploring Italy’s Regional Cuisines: A Journey Through Flavors
read post →